POKE
PRACTICE
Train your hands, sit on your ass.
THERE’S ONLY
ONE WAY TO
IMPROVE
If you want to learn, train your hands, or improve your art, you have to sit and practice.
Below you’ll find a handful of practice exercises to get you started.
You'll learn how to improve your line work, shading, texture, tracing, needle depth, and more. The more you practice, the faster it becomes second nature.
This is your safe place to experiment and make mistakes. It’s important to learn how your gear works, how different needles put ink into the skin, and how you can improve. Now you have a way to do it.

The exercises are broken into two sections:
1. Needles, Ink, Fruit, & Fake Skin
2. Pen & Paper
Nothing compares to a genuine human skin suit, but practice is practice.
praCTICE WITH
NEEDLES, FRUIT, & FAKE SKIN
These exercises will be done with real needles, real pokes, real fruit, and fake skin.
You’ll have a little bit of set up and clean up, but these practices pair quite nicely with your favorite comfort show or some sinful tunes.
Best fruits: Oranges, grapefruits, lemons, and limes tend to love getting poked. Give em’ what they want, fella.

WHAT YOU NEED:
Needles & Ink
Gloves & Paper Towels
Fruit & Fake Skin

LINES & DEPTH
This is where you can hone in on your hand coordination.
Lines can be tough on round objects. Here we’ll practice creating solid, clean lines with gentle, shallow pokes.
Try poking straight and curved one-inch lines, poking text, or just doodling. All line work, no shading yet.
Focus on keeping your pokes shallow, straight, tight, and gentle. No stray dots, no gaps, no mushy skin, and no ink inside the fruit (juice bubbles will let you know you went too deep). You should be left with an ink-free snack when you’re done.
HELPS TRAIN:
Line work, needle depth, tattooing rounded objects, and poking gently.

PACKING
& SHADING
This time we’ll work on packing (filling in an area), and shading. Don’t forget to keep your pokes shallow and gentle. We’ll all know if you don’t.
Packing:
The goal here is to pack solid color with as few pokes as possible. Poke a 1-inch circle, then fill it in completely. Packing can cause a lot of skin trauma if you over work it. Be gentle and efficient here.
Shading:
Poke a dotted ring around that first packed circle, with an inch or two in between. Slowly work your way out from the center circle, fading out your dots in a smooth gradient that ends at the ring.
HELPS TRAIN:
Packing without over poking, shading in smooth gradients, gentle hands, and needle depth.

UNIFORM TEXTURE
Flip your fruit around to an empty area. The goal this time is uniform texture, great for adding depth to your tats.
Poke an outline in any shape, fill it in with evenly spaced dots.
Try packing them densely, then try again with looser dots. Create a uniform texture across the entire shape without any areas that feel heavier or lighter.
Do this a few times, playing with different poke speeds to find what feels most natural to you.
HELPS TRAIN:
Poking uniform texture, needle depth, and steady hands.

NEEDLE DEPTH
Fake skin comes in thin sheets and is typically made of silicone. If you have any to play with, it’s great for practicing needle depth.
Slap that sucker on a table with a paper towel under it. Practice doodling, lines, packing or shading without getting any ink on the towel.
HELPS TRAIN:
Needle depth, and steady hands.

PRACTICE WITH
PEN & PAPER
These next practices can be done almost anywhere, anytime. No clean up, no set up.
If you have a journal, great. If not, any old parchment will do. Most pens will work, but felt tips are a real treat.
While you practice, be kind to yourself. The fact that you’re even doing it is something to celebrate in itself.

WHAT YOU NEED:
Pen (thick felt tips work best)
Lined & Plain Paper
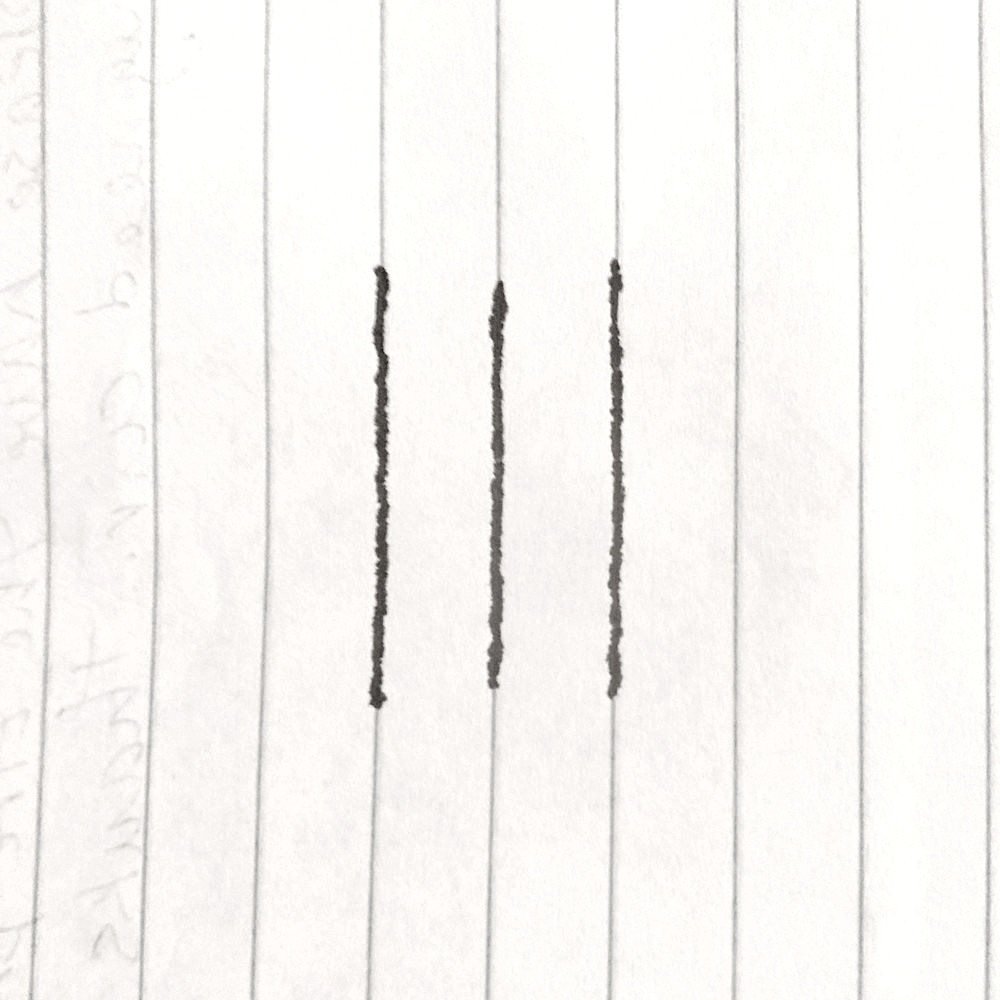
LINES & TRACING
Pull out your pen and lined paper. Your goal here is to use single pokes to cover the lines without poking outside of them.
Keep it slow. Rushing will only train your hand to be sloppy. Don’t worry about finishing, focus on staying on the line. Pretend you’re working on a client, tracing a stencil.
If you notice gaps, no problem. Go fill them in, you’ll be doing this on skin too.
HELPS TRAIN:
Line work, Tracing stencils, hand-eye coordination, and patience.
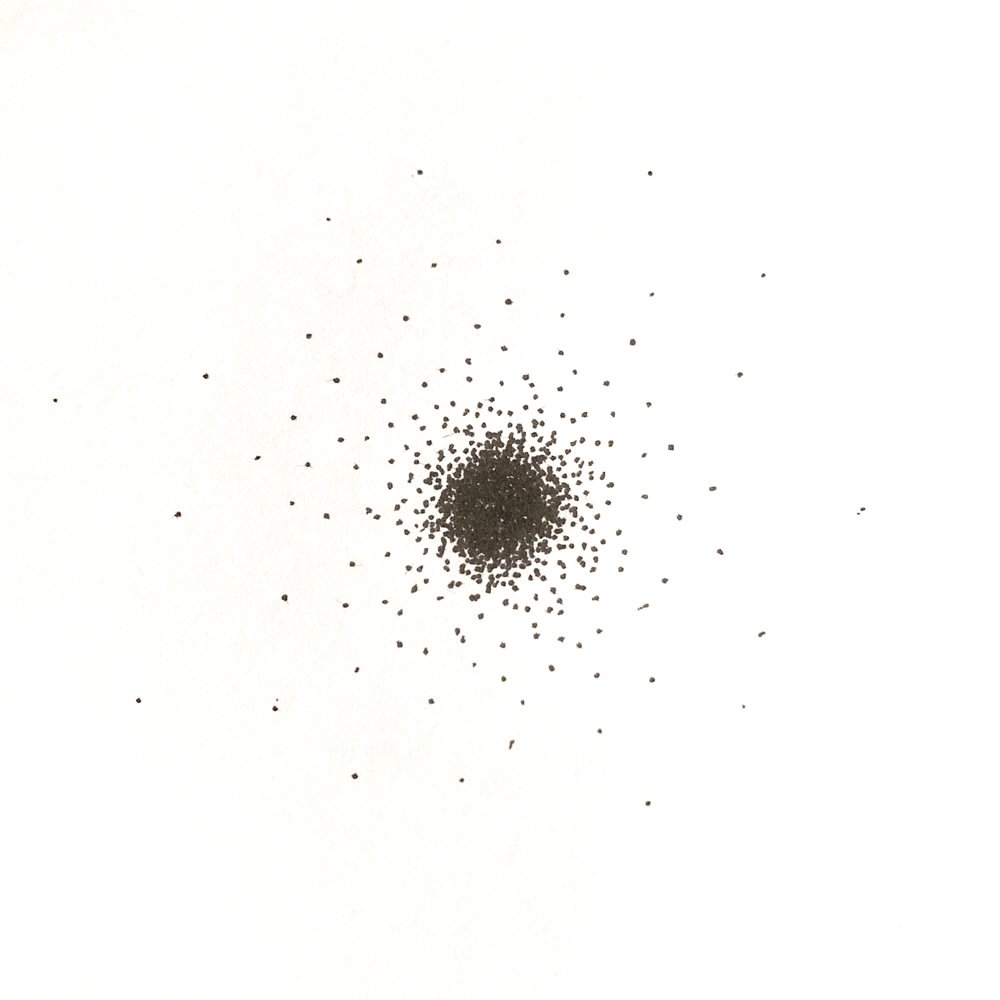
SHADING
Keep that pen and paper out.
The goal this time is smooth gradients.
First, poke a solid 1 inch circle, and then a dotted 4 inch circle around it. With single pokes, shade your way from the center circle to the outer ring creating a gentle gradient from black to white.
Try it again with a squares, or draw a rectangle and shade it black to white from one side to the other.
A little tip, sometimes it can help to do little bursts of 5 or so pokes. If you go constantly, it’s easy for your coordination to dwindle.
HELPS TRAIN:
Shading in smooth gradients, hand coordination.

UNIFORM TEXTURE
Just like the texture exercise with needles, the goal here is uniform texture.
Draw any shape you want, then fill it with evenly spaced pokes. Try packing them densely, then try again with more space in between. Try to create a uniform texture across the entire shape without any areas that feel heavier or lighter.
Try using different sized pens to mimic different needle sizes, and play with different speeds to find what feels natural.
HELPS TRAIN:
Poking uniform texture, and steady hands.